Ideation

Design Requirements

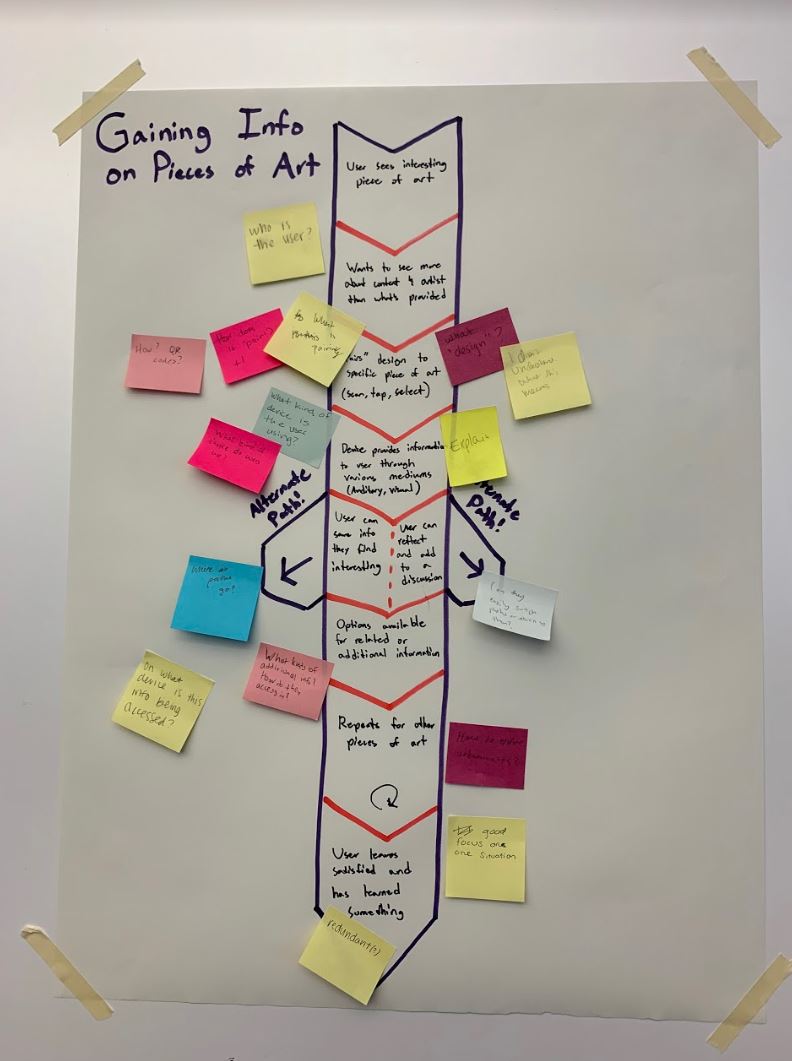
Using the personas and user journey map to identify pain points and desires, we began developing upon the concrete design needs of our product. We listed out realistic design requirements we wanted our product to implement. We then started ideating upon what those designs would look like in our storyboards.

We want our product to allow users to:

  • Easily access information about paintings and artists with a portable device
  • Physically interact with the art
  • Easily navigate the museum to find specific art pieces and exhibits
  • Access and use the devices, regardless of abilities and backgrounds
  • Upload comments or reflections about artwork
  • See their path and time spent throughout the museum
  • Be directed towards other similar pieces in a collection or area of the museum

Takeaways

From the design requirements, we learned:

  • How to focus the scope of our project
  • About the specific goals we wanted to implement for our product

Storyboards

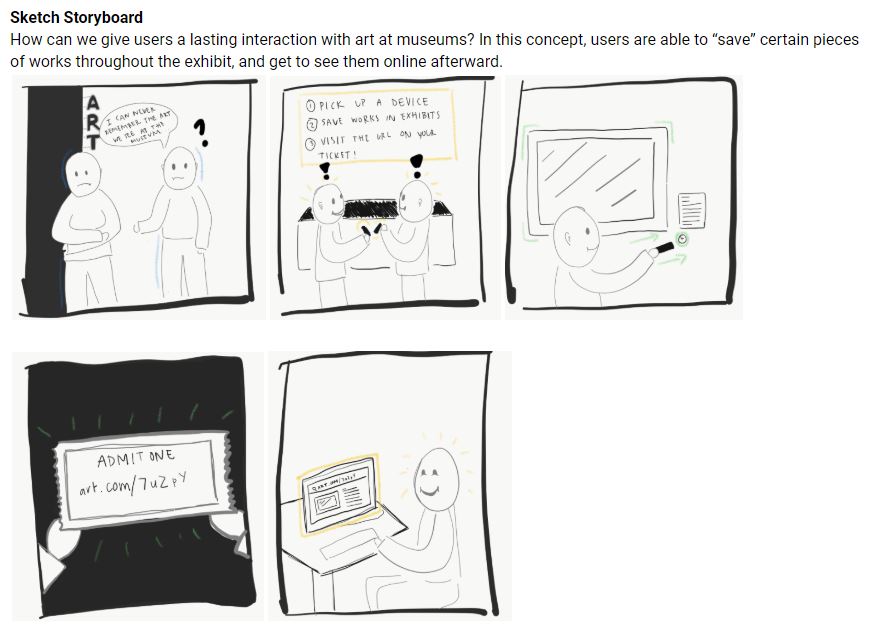
Vishaka's sketched storyboard.
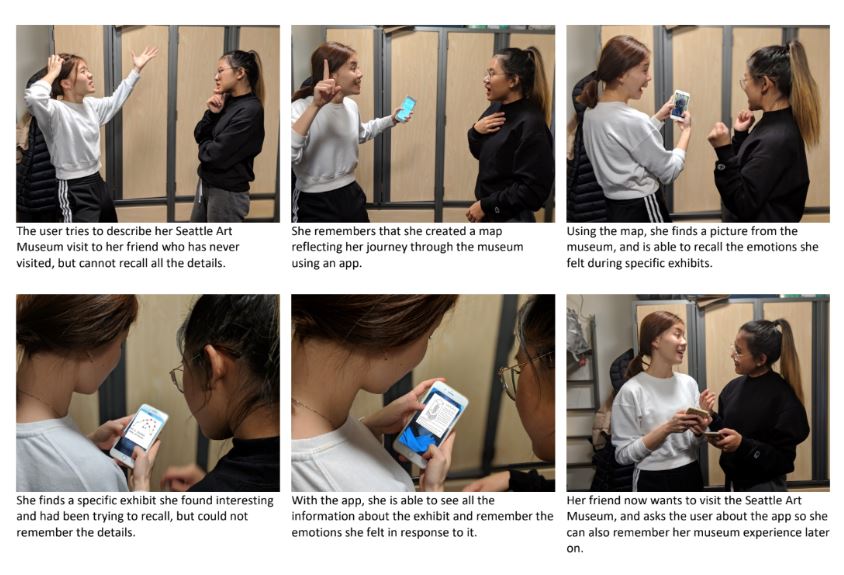
Alli's photographed storyboard.

Using the scenarios and design requirements, we created storyboards following users experiencing a problem faced throughout the museum visit and a solution in the form of our product that could help them achieve their end goals. We each created different storyboards and different solutions to gather ideas for our new designs. Expanding upon our storyboard ideas, we then created interface designs to better see how users would interact with our screens.


Takeaways

From the storyboards, we learned:

  • How to convey problem scenarios and create possible solutions
  • To think more about the uses we want our product to have
Interface Designs

After creating our storyboards, we started thinking more about the designs of our screens. We started sketching interfaces that could be used as part of our product. We each discussed different aspects of our product that we want to implement through the design requirements and interpreted them to visual interactions. We then worked to create the layout of our pages and designs in the information architecture.


Takeaways

From our interface designs, we learned to:

  • Consider the possible form factors of our designs
  • Evaluate the pros and cons of different form factors in our problem space
  • Consider the interactions with the different form factors we chose

Information Architecture

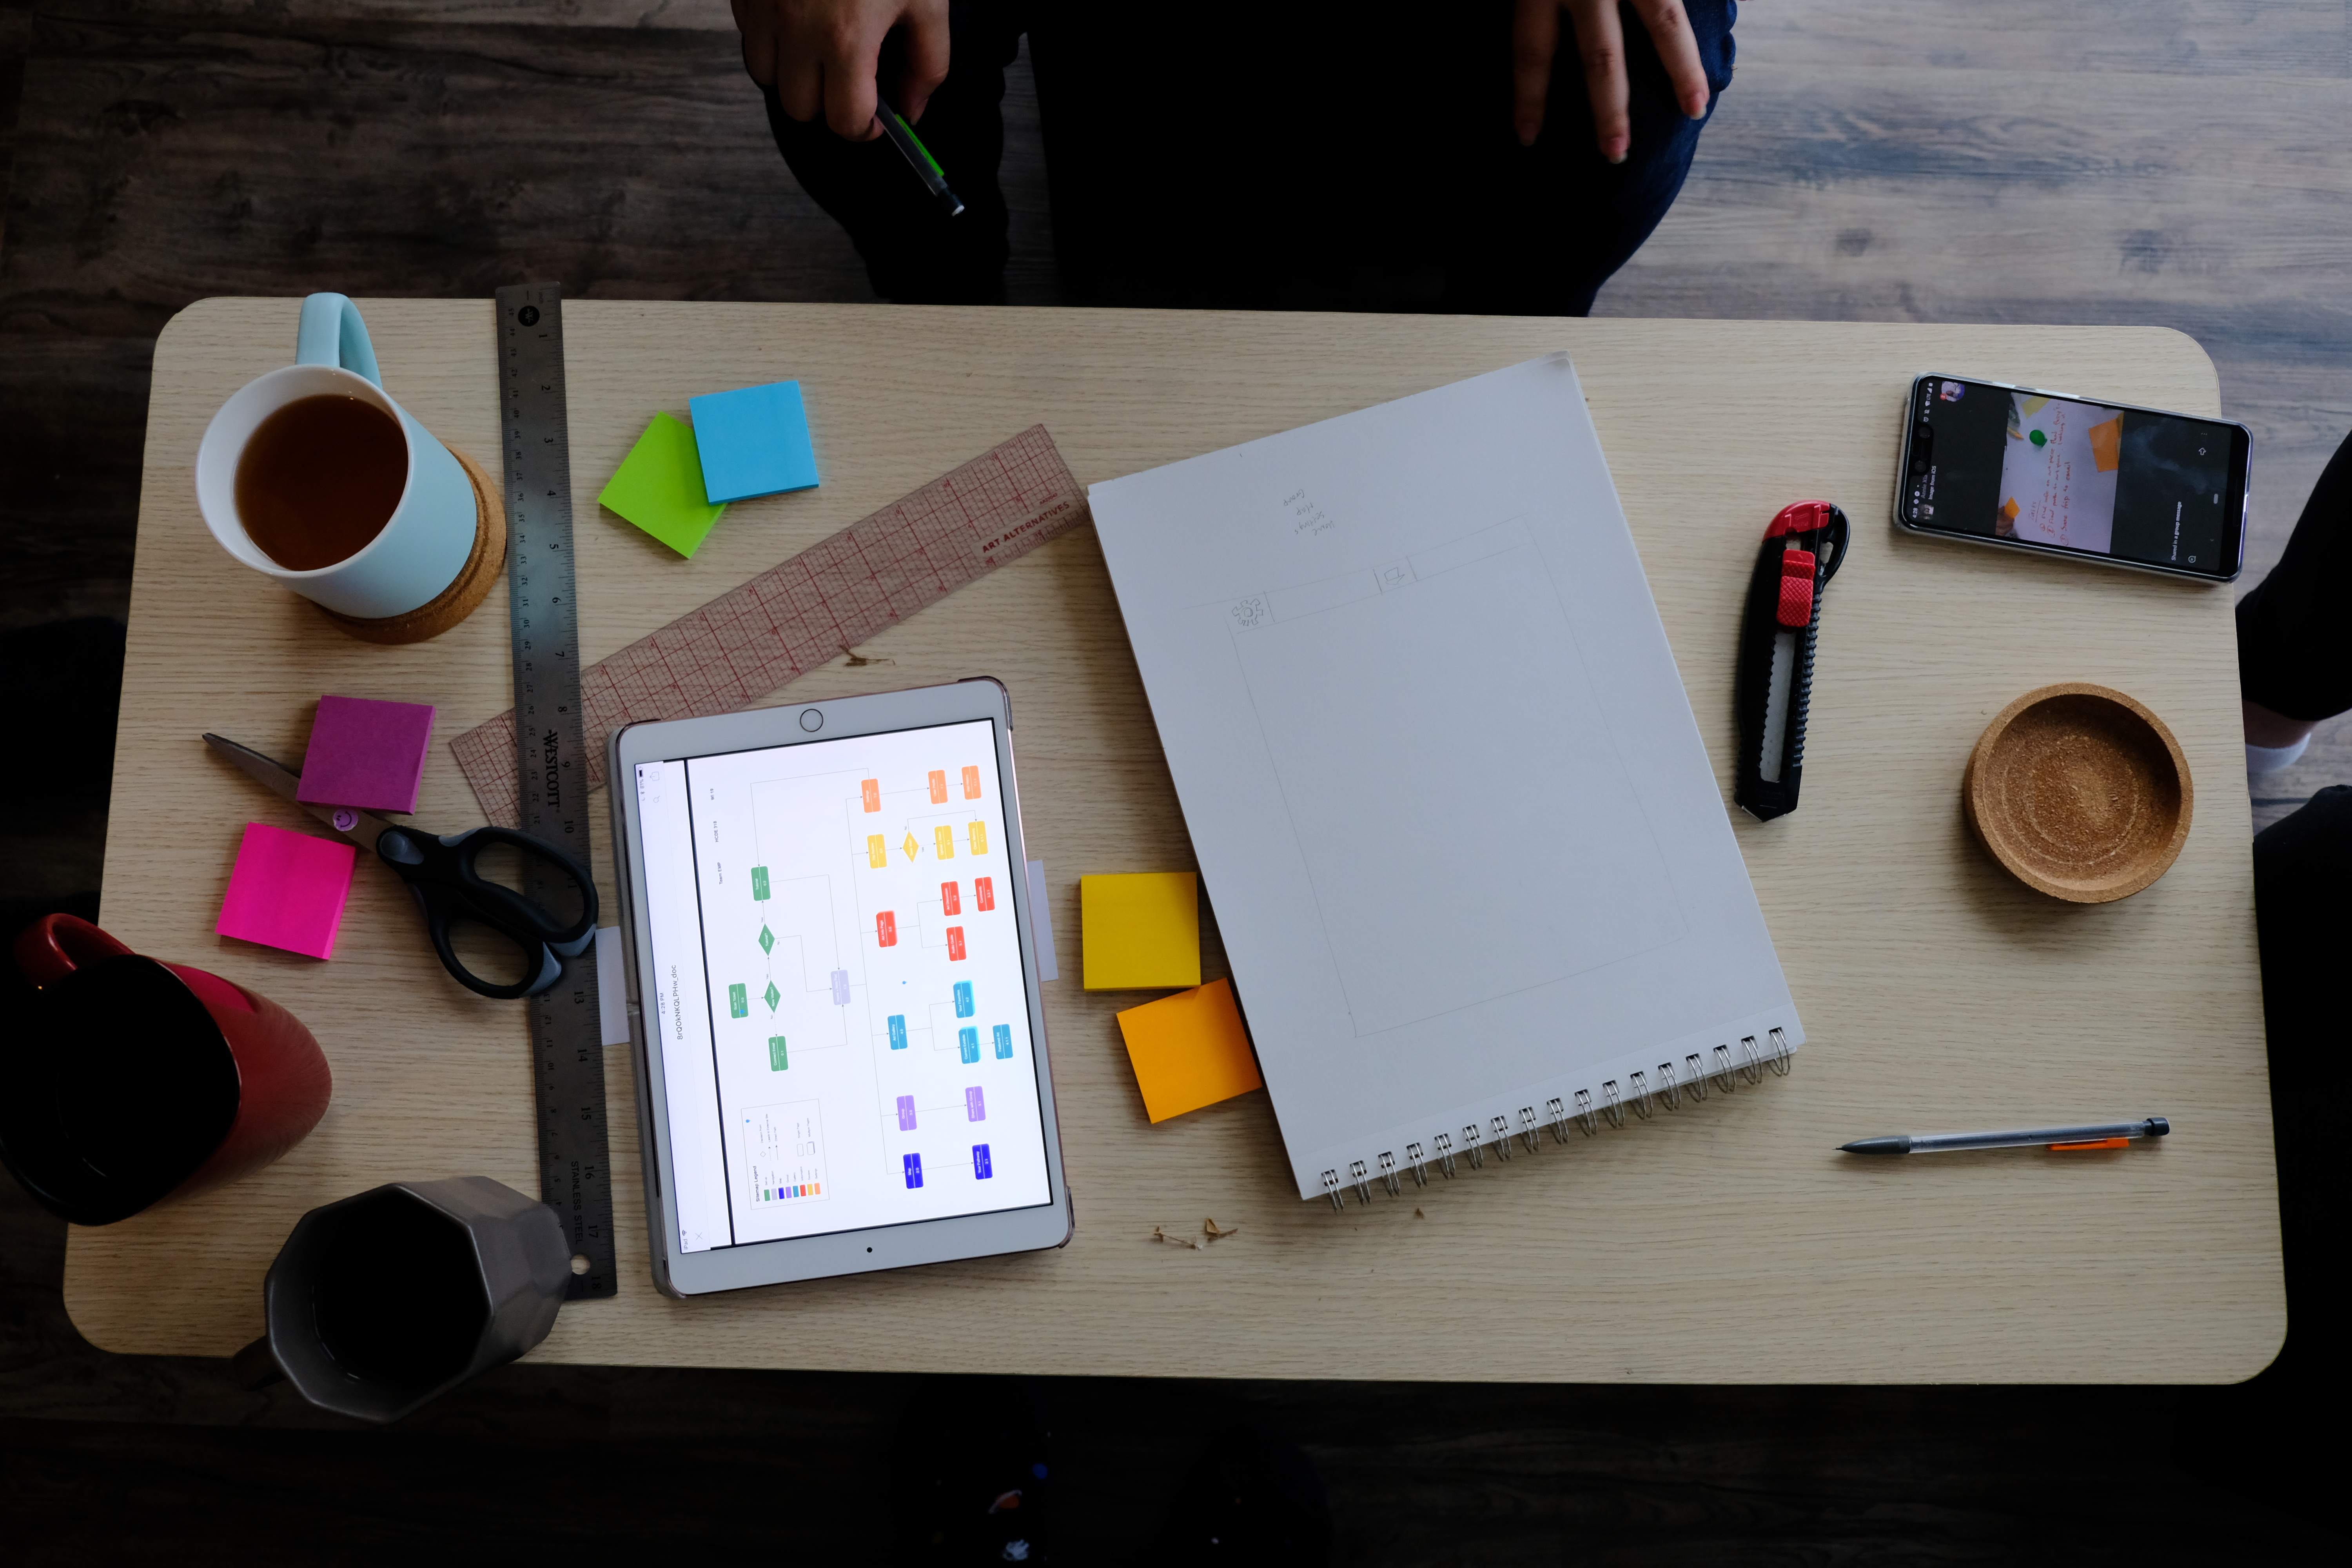
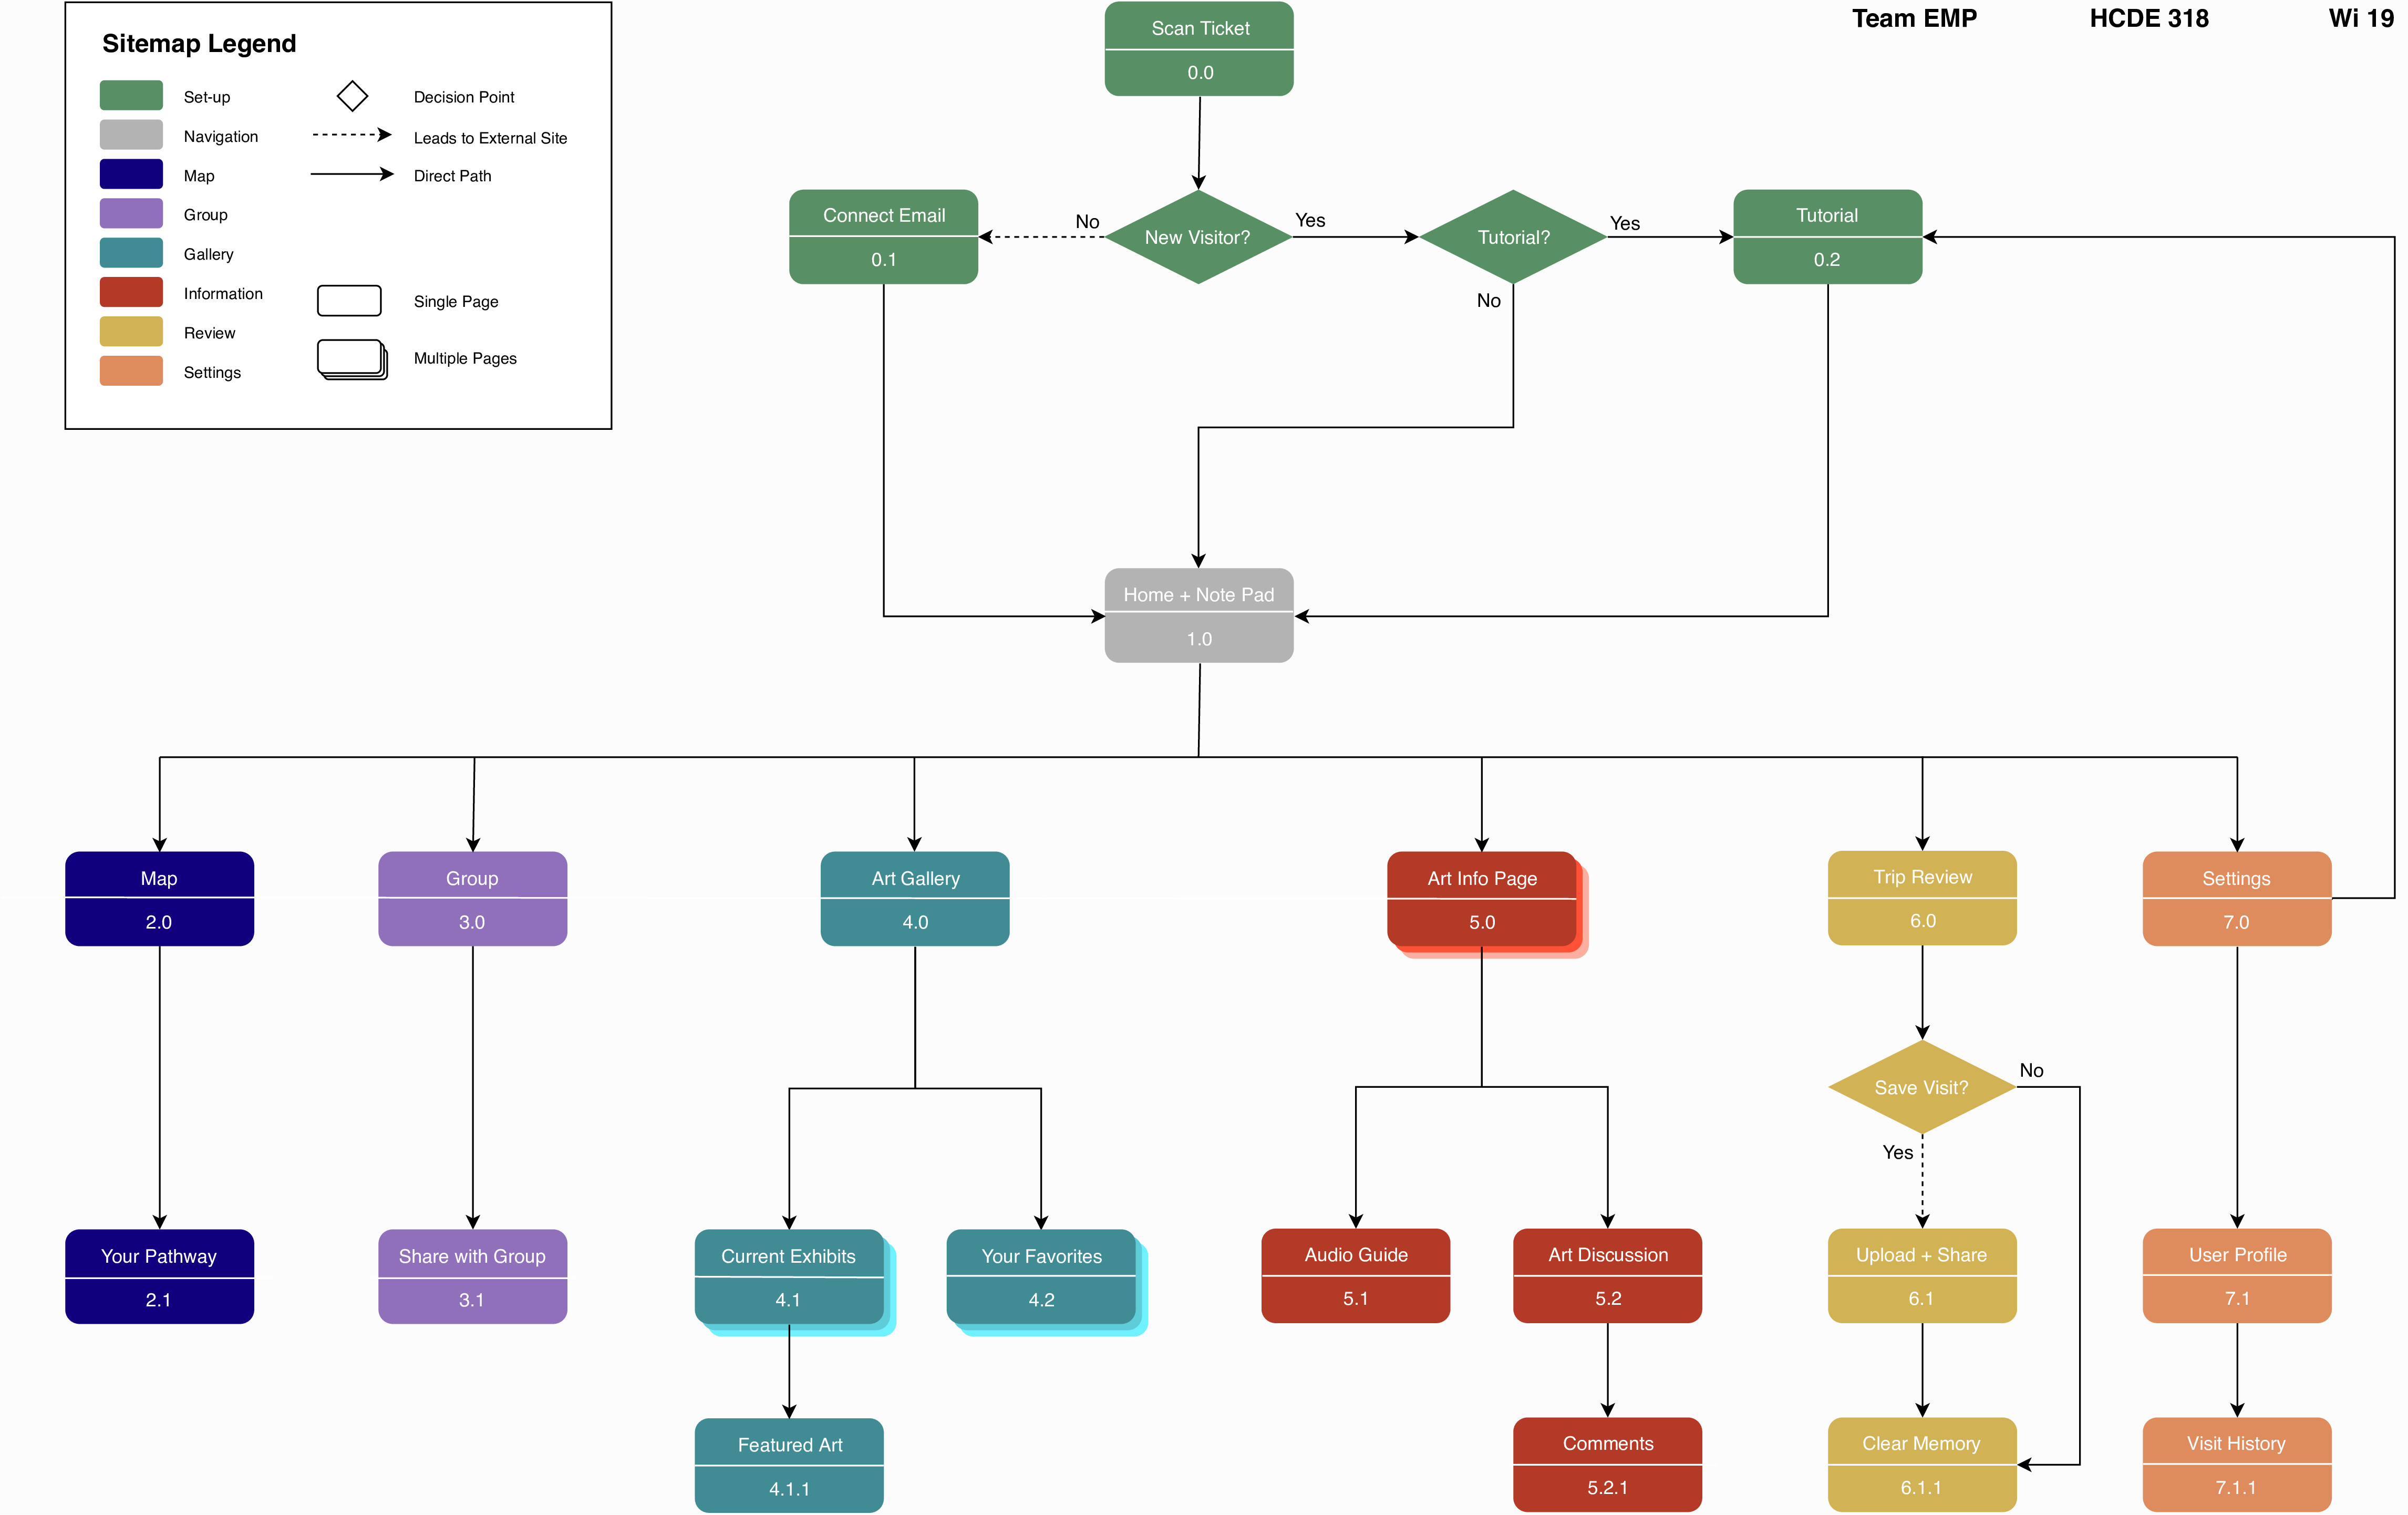
With our original brainstorm with interface designs and storyboards, we then created our Information Architecture to create the first draft of our product layout. We listed out all the pages we valued and wanted as part of our design. After working on our information architecture, we took our layout and created our low-fidelity paper prototype.


Takeaways

From our information architecture, we learned how to:

  • Organize the functions, order, and layout of the features of our product
  • Develop the interaction flow of our product
Image of our information architecture.